Unlock Authentic Flavor: Mastering Homemade Corn Tortillas with a Cast Iron Pan
There's something uniquely satisfying about biting into a warm, fresh tortilla, its subtle corn aroma filling your senses, its pliable texture cradling your favorite fillings. While store-bought options are convenient, they often pale in comparison to the vibrant taste and superior texture of tortillas made right in your own kitchen. This guide will walk you through the simple, rewarding process of crafting truly exceptional homemade corn tortillas, emphasizing the indispensable role of a cast iron pan in achieving that authentic, unforgettable quality. Prepare to elevate your taco nights, quesadilla lunches, and every Mexican-inspired meal in between.Why Homemade Corn Tortillas Are the Real Deal
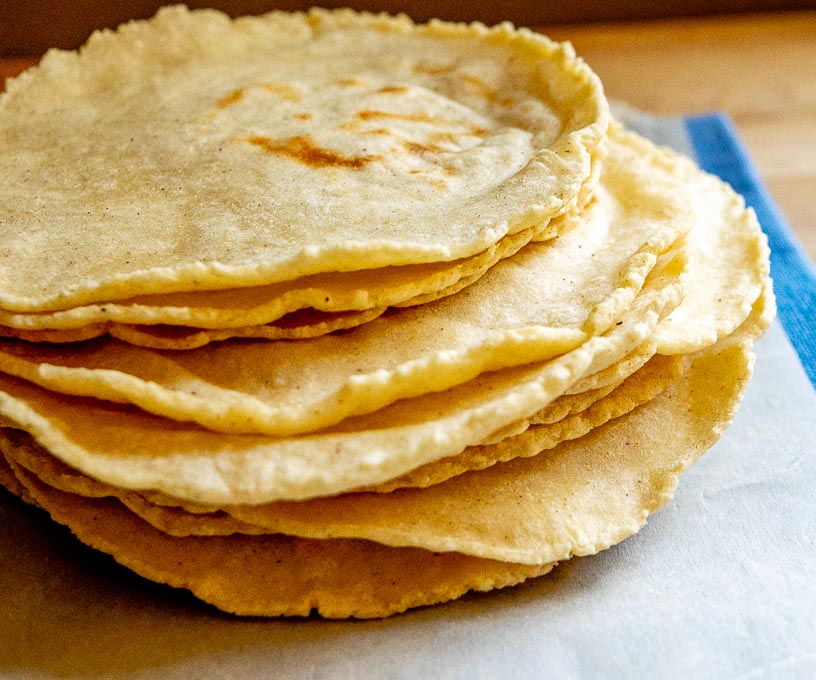
The journey to making your own corn tortillas is more than just a culinary task; it's a step towards culinary authenticity. The difference is immediately noticeable: a freshness that cannot be replicated, a nuanced corn flavor that's often lost in packaged versions, and a wonderfully soft yet resilient texture that holds up perfectly to fillings. When you make them at home, you control the ingredients, ensuring a simple, wholesome product free from unnecessary additives. This commitment to simple, fresh ingredients is key to creating what we lovingly refer to as The Real Thing: Make Wonderful Homemade Corn Tortillas. The process itself is surprisingly straightforward, requiring just a few basic components and a little patience, culminating in a product that genuinely tastes superior.The Essential Ingredients: Simplicity is Key
The foundation of any great homemade corn tortilla lies in its ingredients. You'll be delighted to know that you only need two, possibly three, core items:- Masa Harina: This is non-negotiable. Masa harina is not regular cornmeal. It's a special flour made from corn kernels that have been cooked and soaked in an alkaline solution (a process called nixtamalization), then ground and dried. This process changes the corn's nutritional profile, improves its flavor, and makes it possible to form a pliable dough. You can typically find masa harina in the baking aisle of larger supermarkets or, even better, at Mexican grocery stores, often in the international foods section. Look for brands like Maseca or Bob's Red Mill.
- Warm Water: The second crucial component. The temperature of the water helps activate the masa harina and create a more pliable dough.
- Salt (Optional, but Recommended): A pinch of fine sea salt truly enhances the corn flavor, making your tortillas taste even more authentic and delicious.
The Secret Weapon: Your Cast Iron Pan
If there's one "secret" to achieving truly wonderful corn tortillas, it's undeniably the use of a cast iron pan, griddle, or comal. This isn't just a suggestion; it's a cornerstone of traditional tortilla making for several compelling reasons:Superior Heat Retention and Distribution: Cast iron is a champion at retaining and distributing heat evenly across its surface. This is critical for tortillas, as they need consistent, high heat to cook properly and develop those coveted browned spots without burning. An even temperature ensures every part of the tortilla cooks simultaneously, promoting a uniform texture.
The "Puff" Factor: The high, even heat provided by cast iron is what encourages the tortillas to puff up. This puff is a sign of a perfectly cooked tortilla; it indicates that steam has built up inside, separating the layers of masa. This results in a lighter, softer, and more pliable tortilla that's a joy to eat.
Natural Non-Stick Surface: A well-seasoned cast iron pan develops a natural non-stick surface, which is ideal for cooking tortillas without added oil. This allows them to cook directly on the hot surface, developing that characteristic slightly charred flavor without sticking or tearing.
Durability and Longevity: A good cast iron pan is an investment that will last a lifetime, becoming more seasoned and better with each use. It's a testament to traditional cooking methods that stand the test of time.
Step-by-Step Guide to Crafting Your Masterpiece
Let's get down to the practical steps of transforming simple ingredients into extraordinary tortillas.1. Preparing the Masa Dough
- Combine Ingredients: In a large mixing bowl, combine the masa harina and salt (if using). Gradually add the warm water, mixing with your hands or a sturdy spoon.
- Knead and Assess: Continue mixing and kneading for about 2-3 minutes. The goal is to achieve a dough that feels like play-doh or moist cookie dough – soft, pliable, and smooth, but not sticky. It should not crack easily when pressed. If it's too dry, add water a teaspoon at a time. If it's too wet, add a tablespoon of masa harina.
- Rest the Dough: Cover the bowl with a damp cloth or plastic wrap and let the dough rest for 15-20 minutes. This allows the masa harina to fully hydrate, resulting in a more pliable and easier-to-work-with dough.
2. Forming the Tortillas
While a tortilla press is highly recommended for consistency and ease, you can also use two heavy flat plates or even a rolling pin between two cutting boards.
- Portioning: Divide the dough into equal portions. For standard tacos, golf-ball sized pieces (about 1.5 oz or 40g each) are ideal. Roll them into smooth balls.
- Pressing: Line your tortilla press with two pieces of plastic (cut from a Ziploc bag or a plastic grocery bag). This prevents sticking and makes removal easy. Place a dough ball in the center, slightly off-center towards the hinge. Close the press firmly and evenly. Don't over-press; you're looking for a thin, even disc about 6 inches in diameter.
- Careful Removal: Gently peel the tortilla from the plastic liner. It should be thin enough to cook quickly but thick enough not to tear easily.
3. Cooking on the Cast Iron Pan
This is where your cast iron pan truly shines!
- Preheat Your Pan: Place your cast iron pan over medium-high heat. Allow it to preheat for at least 5-7 minutes until it's very hot. You can test by sprinkling a few drops of water; they should evaporate immediately. No oil is needed for traditional corn tortillas.
- First Side (30-45 seconds): Carefully place a tortilla onto the hot, dry pan. Cook for about 30-45 seconds. You'll see the edges start to dry out and perhaps a few darker spots appear.
- Second Side (60-90 seconds): Flip the tortilla. Cook for 60-90 seconds on the second side. This is often when you'll start to see the tortilla puff up. Don't be discouraged if not all of them puff; even un-puffed tortillas are delicious!
- Third Side (15-30 seconds, optional): If the tortilla didn't puff on the second side, flip it back to the first side for a quick final cook of 15-30 seconds. Sometimes this third flip encourages a puff. The goal is for the tortilla to be cooked through, pliable, with some browned spots.
- Keep Warm: As each tortilla finishes cooking, immediately transfer it to a tortilla warmer or stack them wrapped in a clean kitchen towel. The residual heat will continue to steam them, keeping them soft and pliable until serving.
Troubleshooting Common Issues
Even experienced cooks encounter occasional hiccups. Here are some solutions to common tortilla problems:- Dough is Crumbly/Dry: Add a teaspoon of warm water at a time and knead until smooth and pliable.
- Dough is Sticky/Too Wet: Add a tablespoon of masa harina at a time and knead until it's no longer sticky.
- Tortillas Sticking to Press/Plastic: Ensure your plastic liners are smooth and perhaps slightly greased (though usually not necessary with good plastic). Your dough might also be too wet.
- Tortillas Not Puffing: This is often due to the pan not being hot enough, or the tortilla being too thin, too thick, or unevenly pressed. Don't fret too much if they don't all puff; they'll still taste amazing!
- Tortillas are Stiff/Brittle: They've likely been overcooked, or your dough was too dry. Ensure they are kept warm in a towel immediately after cooking.
